
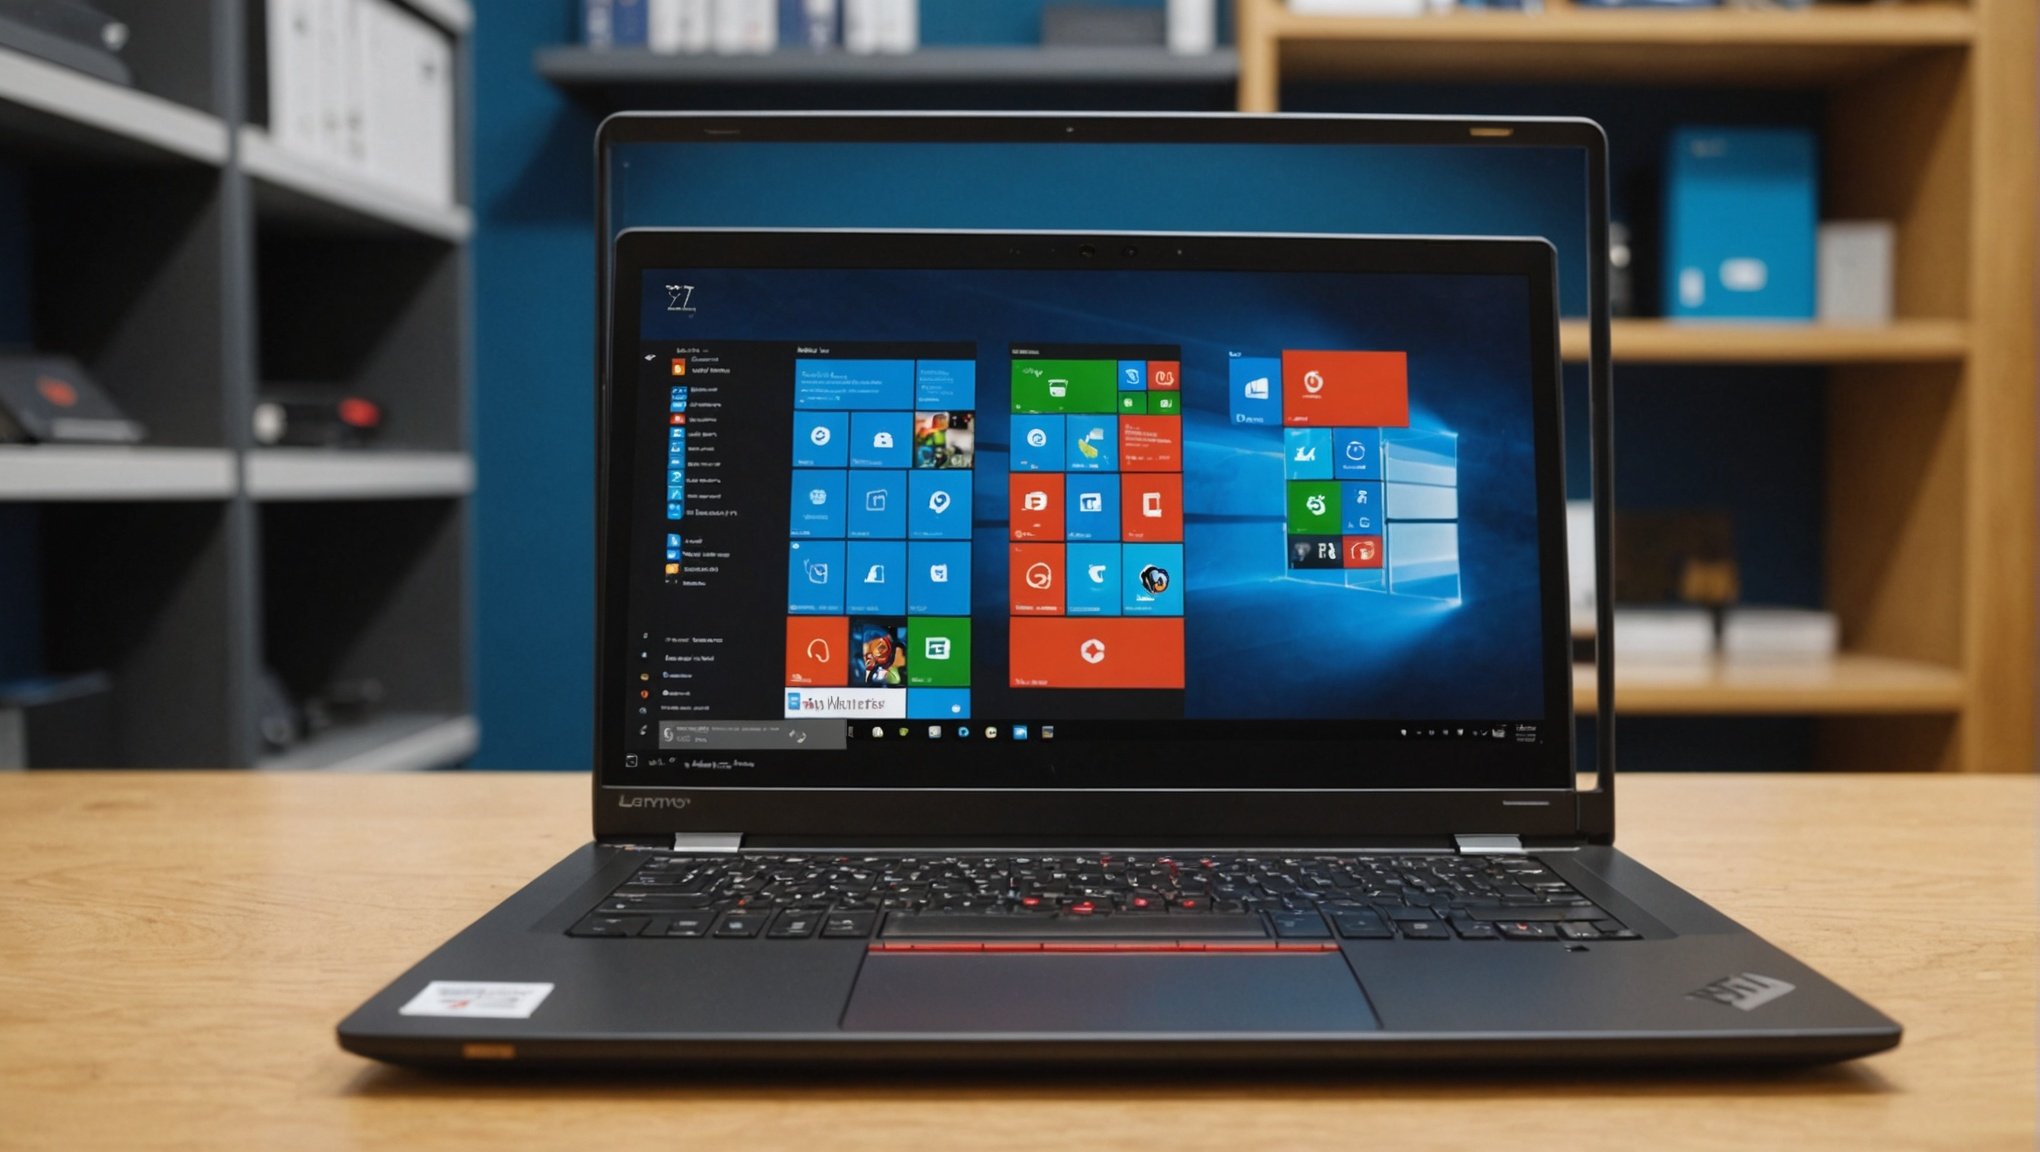
Are you interested in experiencing the best of both worlds when it comes to operating systems? Perhaps you’ve been using Windows 10 for a while, but you’re curious about Ubuntu, a popular, easy-to-use Linux distribution. How about running both on your Lenovo ThinkPad X1 Carbon? Yes, you heard that right! You can set up a dual-boot system with Windows 10 and Ubuntu on your Lenovo ThinkPad X1 Carbon. This article will guide you through the process, step by step, in a straightforward and comprehensible way.
Step 1: Preparing Your Lenovo ThinkPad
Before you start the actual installation process, there are some preliminary steps you must take to ensure that the procedure goes smoothly.
In parallel : What are the steps to install and configure a RAID 5 array on a Synology DS920+ for enhanced performance?
First and foremost, back up your data. This step is crucial because the process can potentially erase everything on your hard drive. You can use an external hard drive or an online cloud storage service for this.
Next, create a recovery drive for your current Windows 10 system. This will allow you to restore your system if anything goes awry during the installation process. You can achieve this by searching “Create a recovery drive” in the Windows 10 search box and following the prompts.
Lastly, ensure your Lenovo ThinkPad X1 Carbon is set to boot from USB. To do this, you will need to enter the BIOS by pressing the F1 key during startup and navigate to the Boot menu. Here, you should set the boot priority to boot from USB first.
Step 2: Downloading Ubuntu and Creating a Bootable USB
Now that your system is primed for the installation, the next step involves downloading the Ubuntu operating system and creating a bootable USB.
You can download the Ubuntu ISO file from the official Ubuntu website. Make sure to select the version that’s right for your system (64-bit version for most modern systems).
Once the ISO file is downloaded, you’ll need to create a bootable USB. There are many tools available for this; a popular choice is Rufus. After downloading and installing Rufus, select the downloaded ISO file and your USB drive in the program, and then click “Start” to create the bootable USB.
Step 3: Installing Ubuntu Alongside Windows 10
With your bootable USB created, it’s now time to install Ubuntu alongside Windows 10.
Reboot your Lenovo ThinkPad X1 Carbon and make sure it boots from the USB. Once the system boots from the USB, you will see an option to “Try Ubuntu without installing” and another to “Install Ubuntu”. Select “Install Ubuntu”.
During the installation process, when you come to the “Installation type” screen, select the option that says “Install Ubuntu alongside Windows Boot Manager” or “Install Ubuntu alongside Windows 10” (the exact wording may vary). This will ensure that Ubuntu is installed alongside Windows 10, thus setting up a dual-boot system.
Follow the prompts to complete the Ubuntu installation.
Step 4: Customizing the GRUB Bootloader
The GRUB Bootloader is the screen that appears when you start up your computer, allowing you to select whether to boot into Windows 10 or Ubuntu. You can customize this to set either Windows 10 or Ubuntu as the default operating system that boots up when you start your computer.
To customize the GRUB Bootloader, boot into Ubuntu and open the Terminal. Then type in the command sudo nano /etc/default/grub. This will open the GRUB configuration file in a text editor.
Look for the line that says GRUB_DEFAULT=0 and change the number to the position of the operating system you want to set as default in the GRUB Bootloader menu (counting starts from 0). After making the change, save and exit the file by pressing Ctrl+X, then Y, then Enter.
To apply these changes, type in the command sudo update-grub in the Terminal and press Enter.
Step 5: Enjoying Your New Dual-Boot System
Now it’s time to reap the fruits of your labor! Restart your Lenovo ThinkPad X1 Carbon; you should now see the GRUB Bootloader menu, allowing you to choose between booting into Ubuntu or Windows 10.
This dual-boot setup provides you with the flexibility to use either operating system as per your needs. Whether it’s the familiarity and widespread software compatibility of Windows 10 or the robustness and security of Ubuntu, your Lenovo ThinkPad X1 Carbon is now a versatile powerhouse.
Remember, the purpose of a dual-boot system is to give you the best of both worlds. Explore and enjoy the unique benefits each operating system offers. Embrace the freedom and flexibility of your new dual-boot system, and let it enhance your computing experience.
Step 6: Troubleshooting Common Issues After Installation
In some cases, you might face issues after the installation process. There are several common problems that users often encounter when dual-booting Windows 10 and Ubuntu. Here, we will discuss how to troubleshoot these problems.
One issue is Windows 10 not showing up in the GRUB Bootloader menu. If this happens, try updating the GRUB using the command sudo update-grub from Ubuntu. If that doesn’t work, you may need to repair the boot files from Windows. To do this, boot from the Windows recovery drive you created earlier, navigate to ‘Troubleshoot’ > ‘Advanced options’ > ‘Command Prompt’. In the command prompt, type bootrec /fixmbr, then bootrec /fixboot, and finally bootrec /scanos. After executing these commands, restart your system.
Another common issue is the Ubuntu not booting after the installation. The problem could be with the UEFI settings. Restart your computer and boot into the BIOS setup by pressing the F1 key. Navigate to the ‘Boot’ tab and make sure ‘UEFI’ is selected, not ‘Legacy’. Also, ensure the ‘Secure Boot’ option is disabled. Save and exit the BIOS setup, then try booting into Ubuntu again.
Difficulty in accessing files on the other operating system is another common issue. To access your Windows files from Ubuntu, use the file manager in Ubuntu. The Windows partition should be listed in the left sidebar. Click on it to mount the drive and access the files. Similarly, to access your Ubuntu files from Windows, you’ll need a third-party application like ‘Ext2Fsd’, which allows Windows to read the ext4 file system used by Ubuntu.
Step 7: Maximizing the Benefits of a Dual-Boot System
Now that you have your dual-boot system running smoothly, it’s important to understand how to get the most out of it. A dual-boot system gives you the freedom to choose the operating system that best suits your needs at any given time.
On one hand, Windows 10 offers a familiar interface with a broad range of software compatibility. It’s a great choice for tasks like gaming, graphic design, or running software that’s only available for Windows.
On the other hand, Ubuntu is known for its robustness, security, and the availability of open-source software. It’s ideal for programming, server management, or when you’re concerned about security and privacy.
One of the greatest benefits of having both systems on your Lenovo ThinkPad X1 Carbon is that you can share files between the two operating systems. The shared file system allows you to work seamlessly across both platforms.
Remember, having a dual-boot system doesn’t mean you need to split your time equally between the two operating systems. Use the one that’s best for your specific tasks at the moment. The goal is to give you flexibility and choice, so feel free to experiment and see what works best for you.
In Conclusion
Setting up a dual-boot system with Windows 10 and Ubuntu on your Lenovo ThinkPad X1 Carbon is a great way to enjoy the unique benefits of both operating systems. Thanks to the detailed steps provided in this guide, you should now be able to tackle this process with confidence.
Whether you’re a longtime Windows user curious about Ubuntu, or a Linux enthusiast needing to run some Windows-only software, a dual-boot system provides the flexibility you need. Remember, the goal isn’t to replace one system with the other, but to create a versatile computing environment that can handle a wide range of tasks.
So, go ahead, explore, experiment, and enjoy the best of both worlds on your dual-boot Lenovo ThinkPad X1 Carbon. Happy Computing!